Creating your first post on Buzzli is simple. Start by entering your topic, customize the post settings if needed, generate the content, review the output, and then either save, schedule, or post it directly to LinkedIn.
Step 1: Open the Post Generator
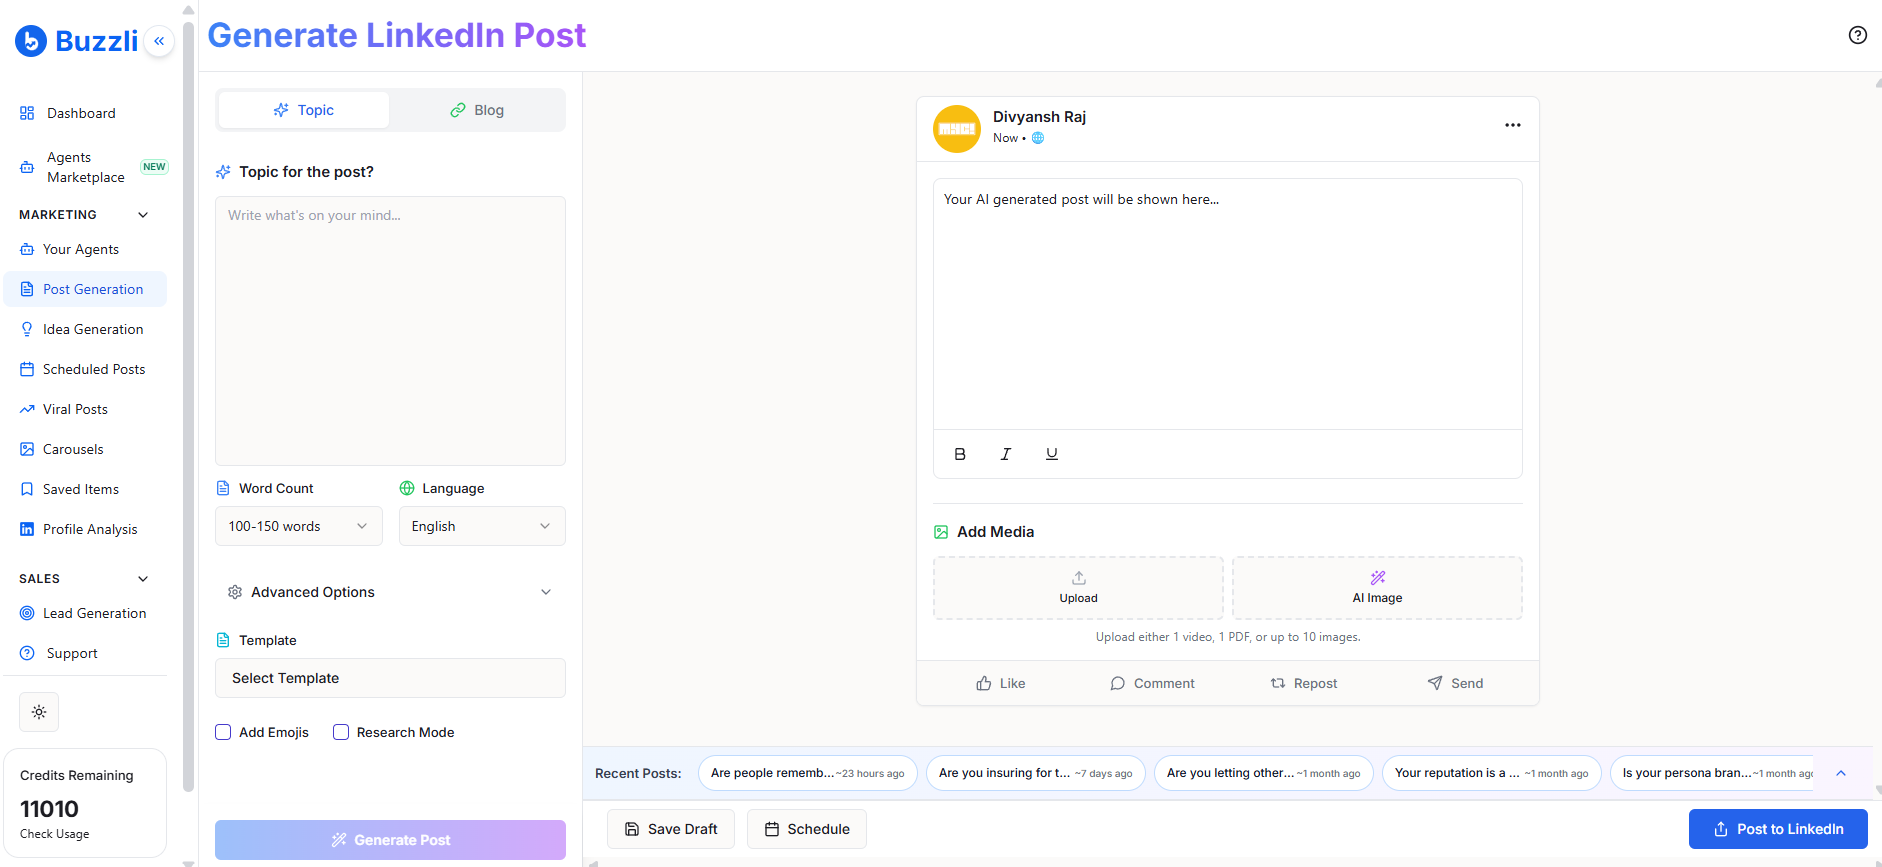
Go to Post Generation from the left-side menu.
This is the main workspace where you can create LinkedIn posts based on a topic or idea.
Step 2: Enter your topic
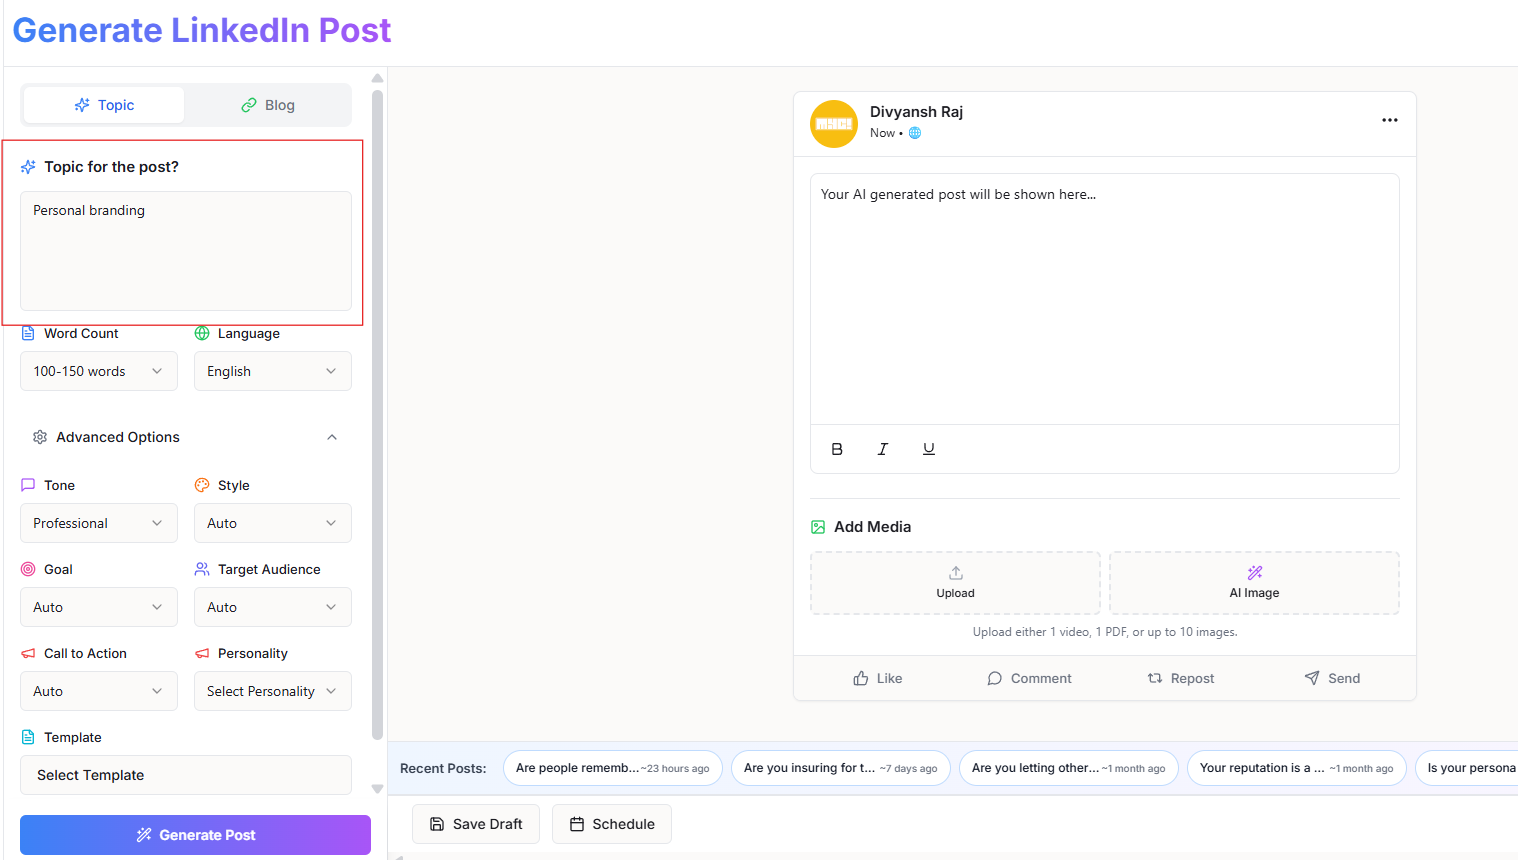
In the Topic for the post field, type the topic you want to write about.
For example: Personal branding
Keep your input clear and specific so Buzzli can generate a more relevant post.
Step 3: Set the basic options
Choose your preferred:
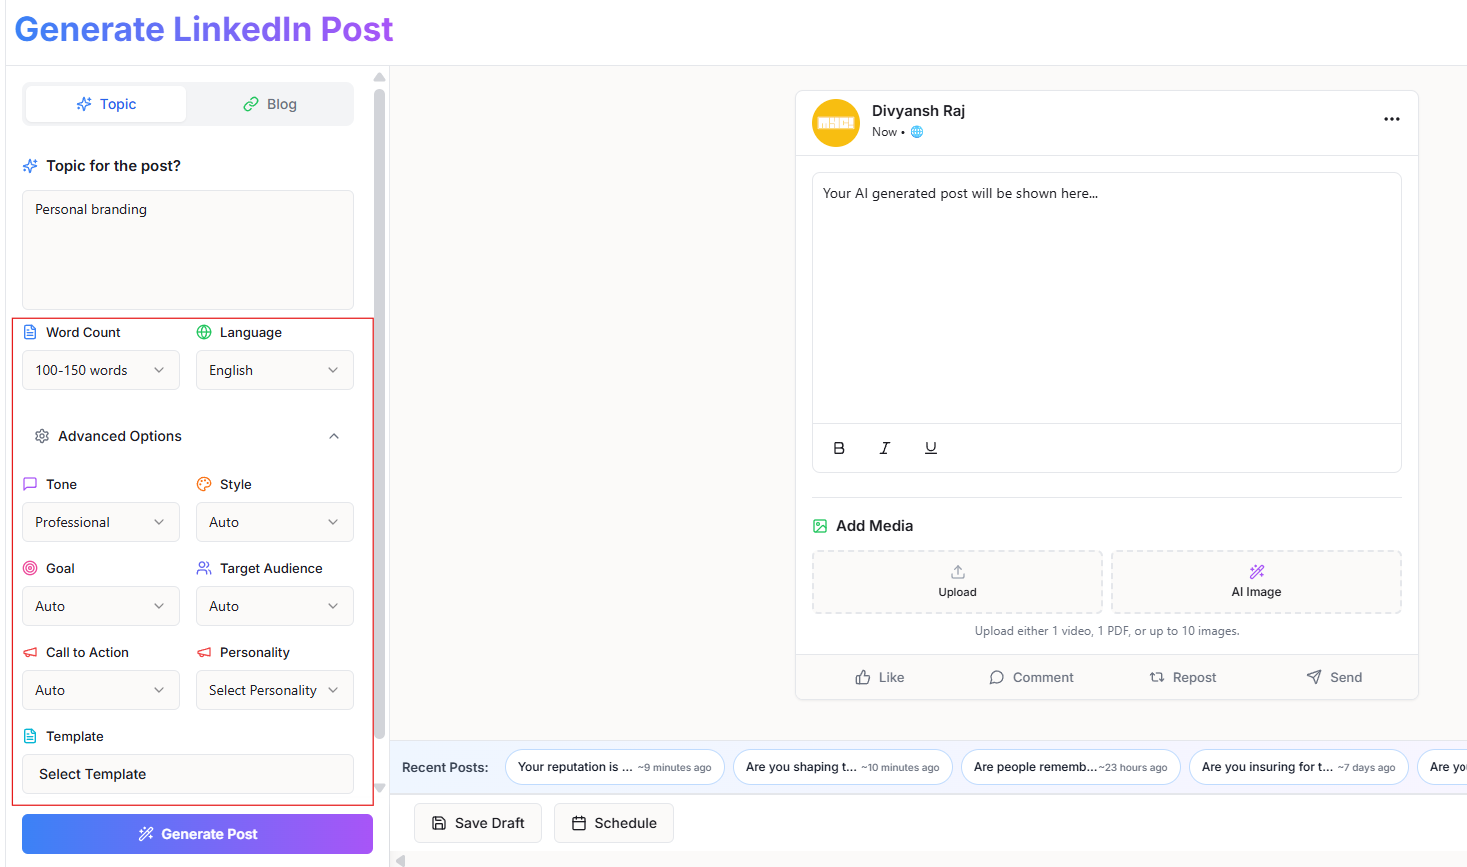
- Word count
- Language
These settings help Buzzli generate the post in the format you want.
Step 4: Adjust advanced options
Open Advanced Options if you want more control over the output.
Here, you can refine the post using settings like:
- Tone
- Style
- Goal
- Target Audience
- Call to Action
- Personality
You can also select a template if needed.
If you want a faster workflow, you can keep these settings on default and continue.
Step 5: Choose additional preferences
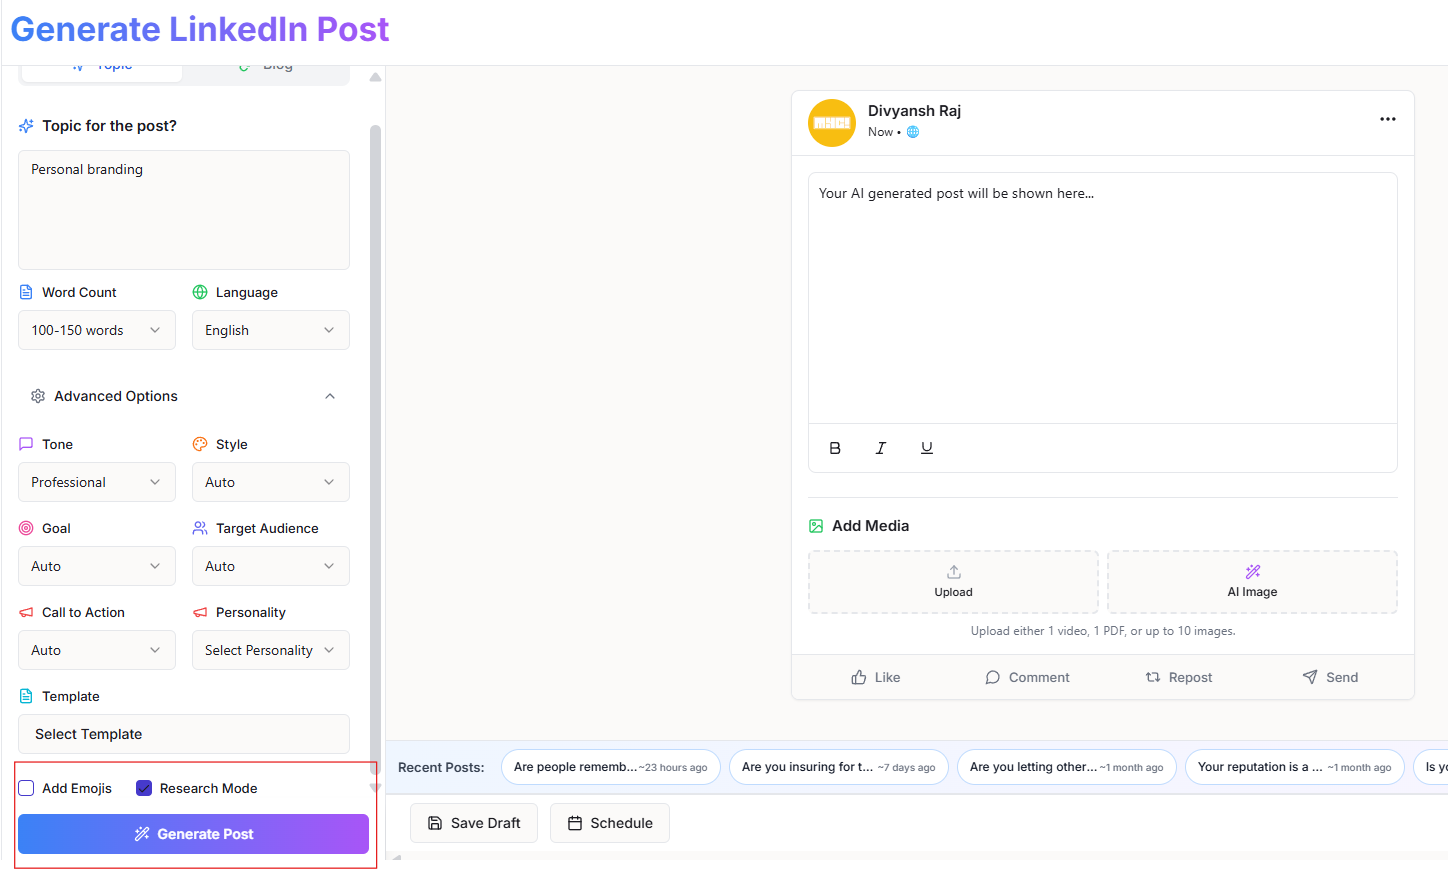
Before generating the post, you can also choose whether to:
- Add Emojis
- Enable Research Mode
Use these options based on the kind of post you want to create.
Once everything looks good, click Generate Post.
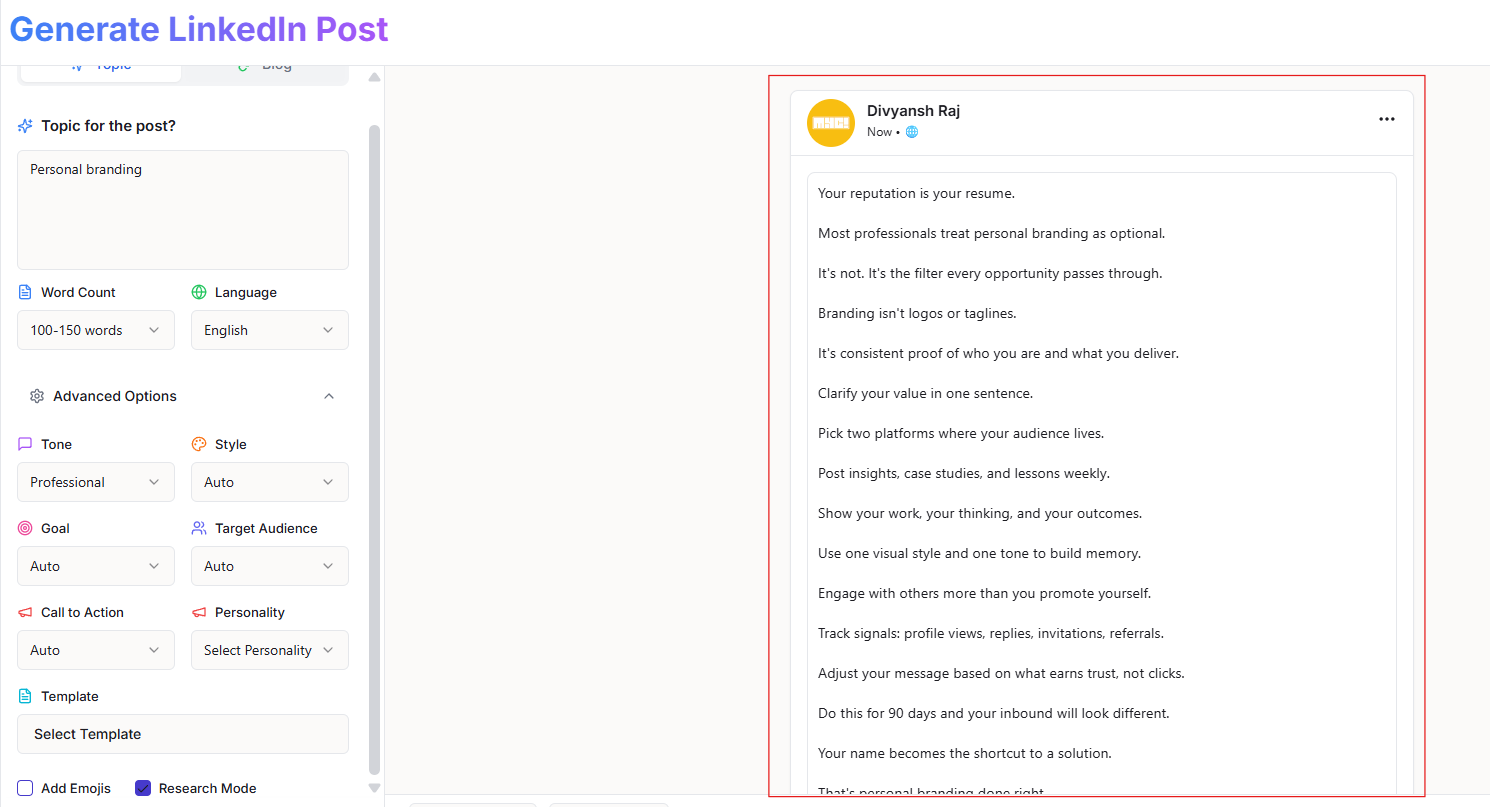
Step 6: Review the generated post
Buzzli will generate your LinkedIn post in the preview section on the right.
Read through the output and make sure it matches your intent, tone, and message.
You can directly edit the content in the preview box if you want to make changes before publishing.
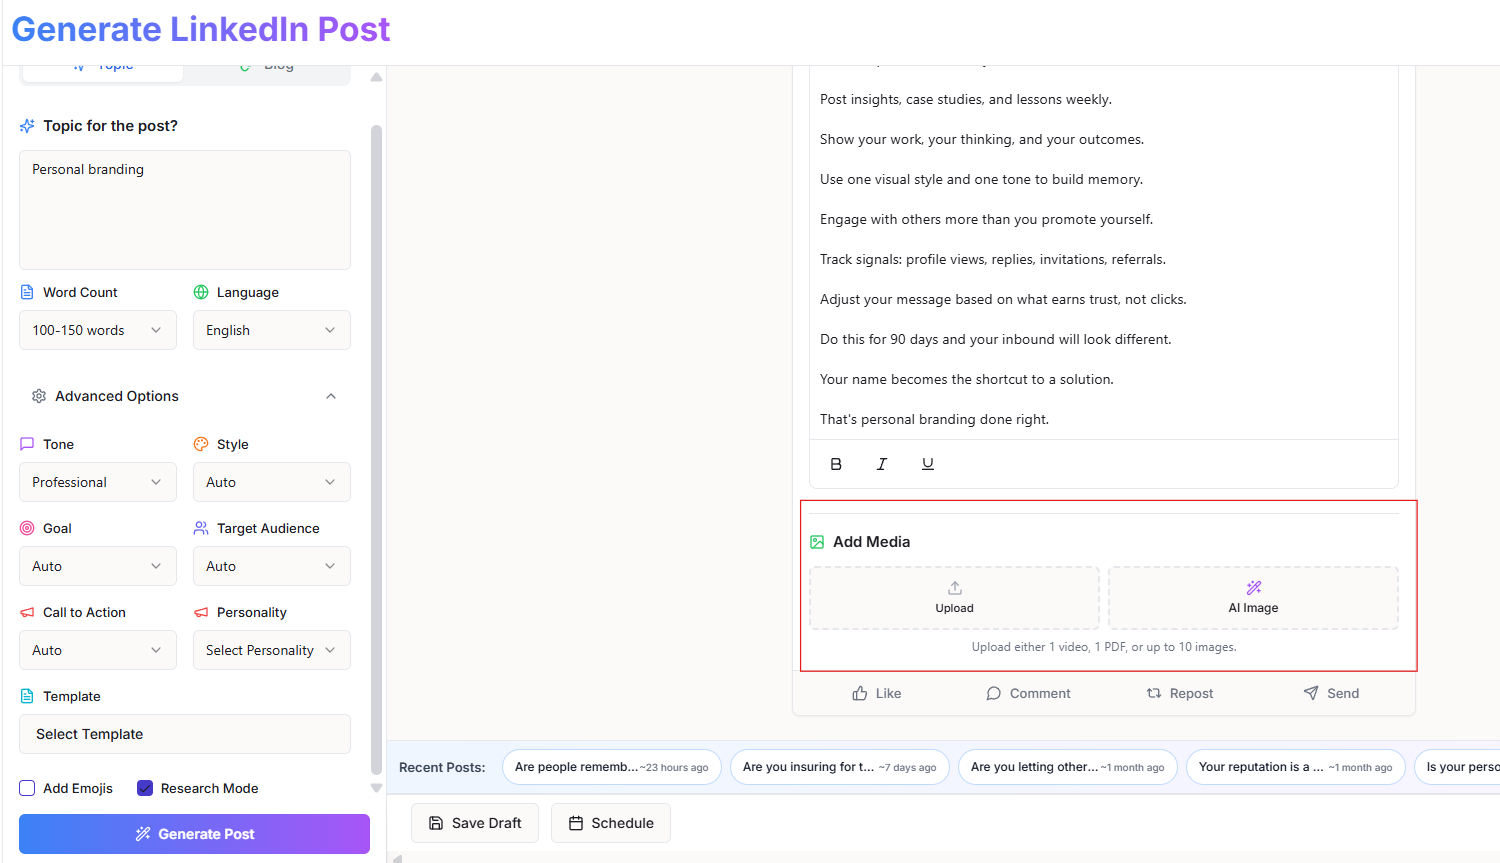
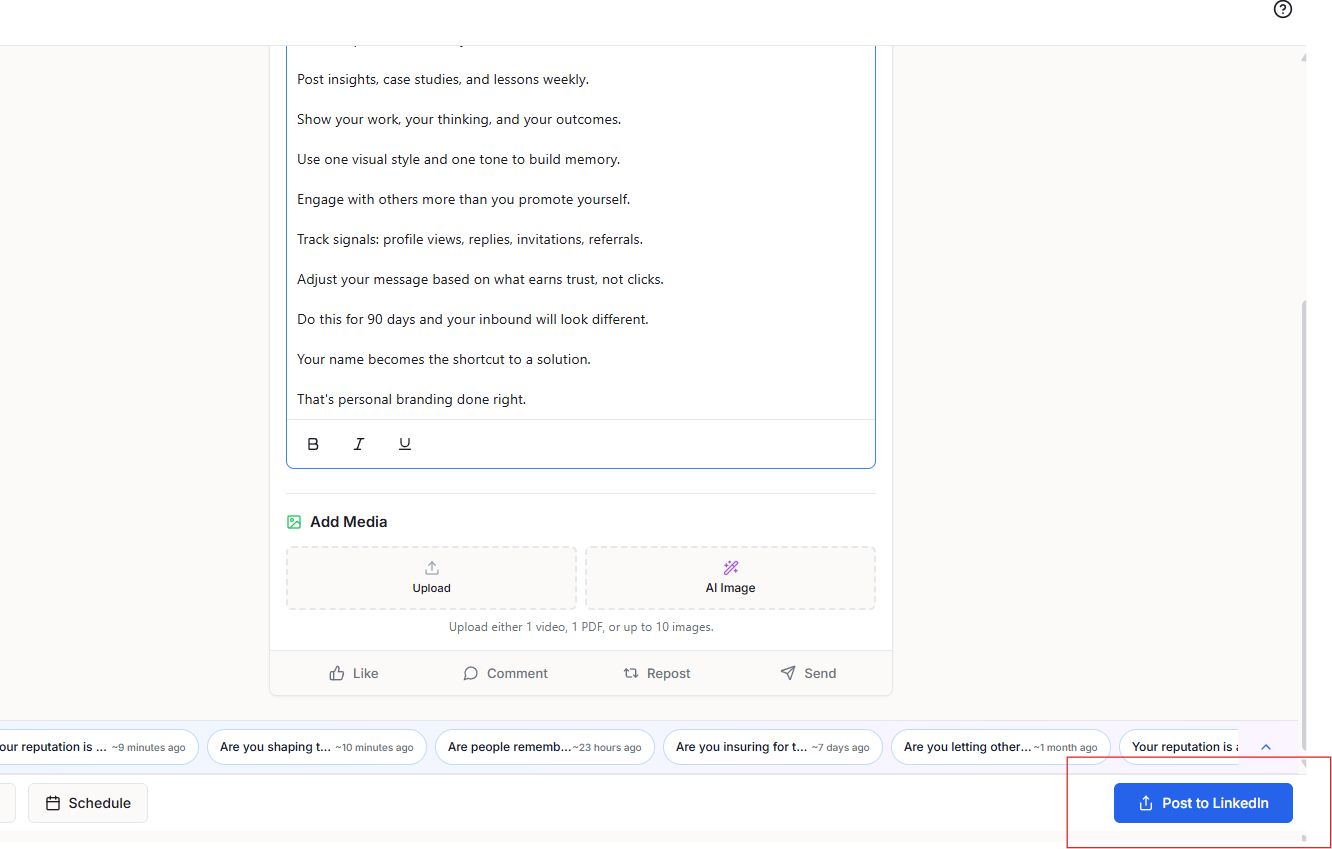
Step 7: Add media if needed
If you want to make the post more engaging, you can add media.
Buzzli gives you the option to:
- Upload media
- Generate an AI Image
This step is optional, but it can help improve the visual appeal of your post.
Step 8: Choose what to do next
Once your post is ready, you have three options:
Save Draft
Use Save Draft if you want to come back and edit the post later.
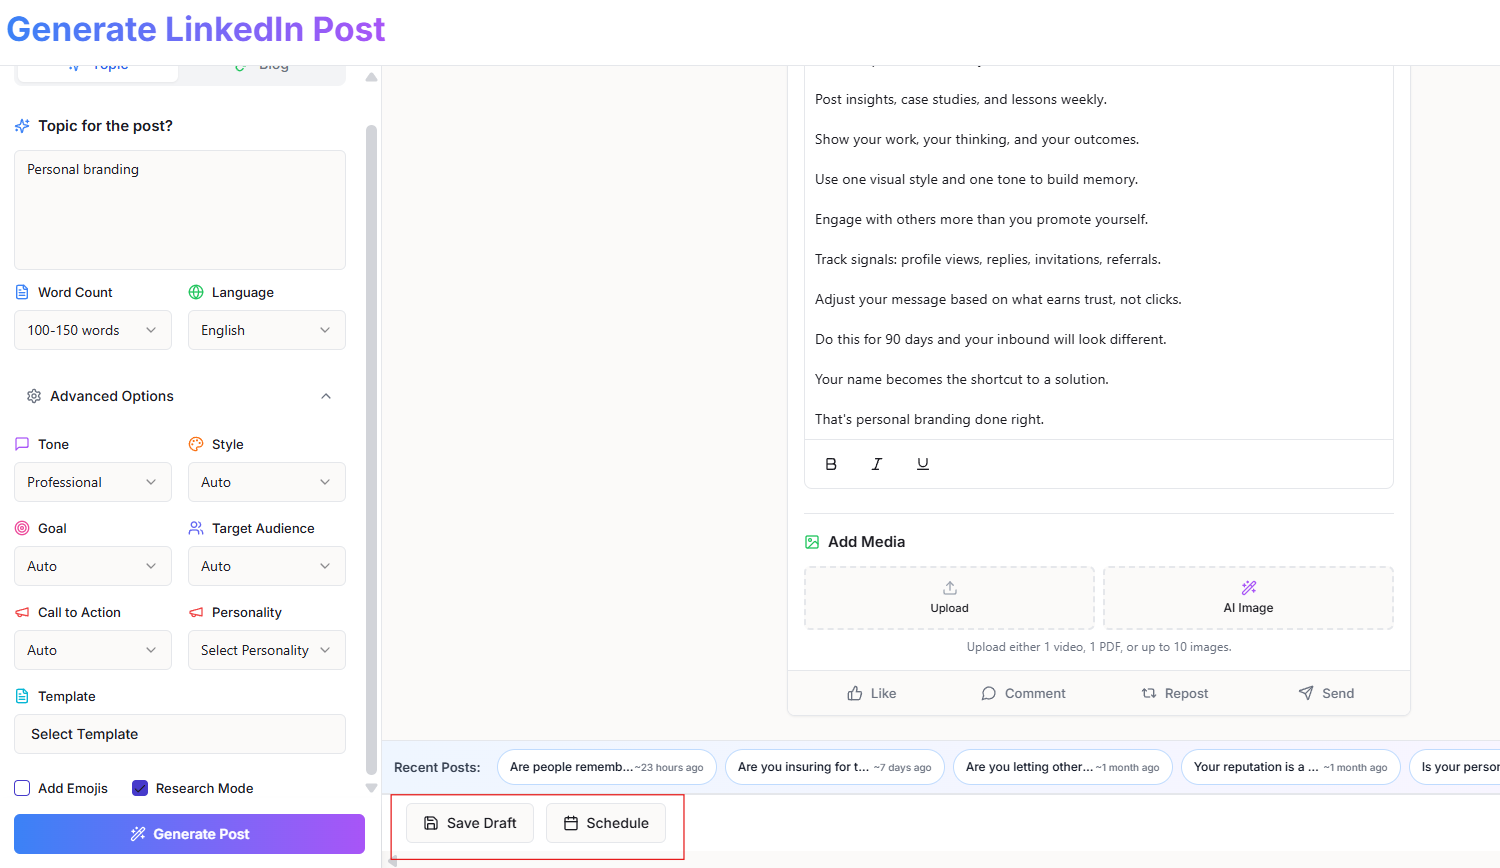
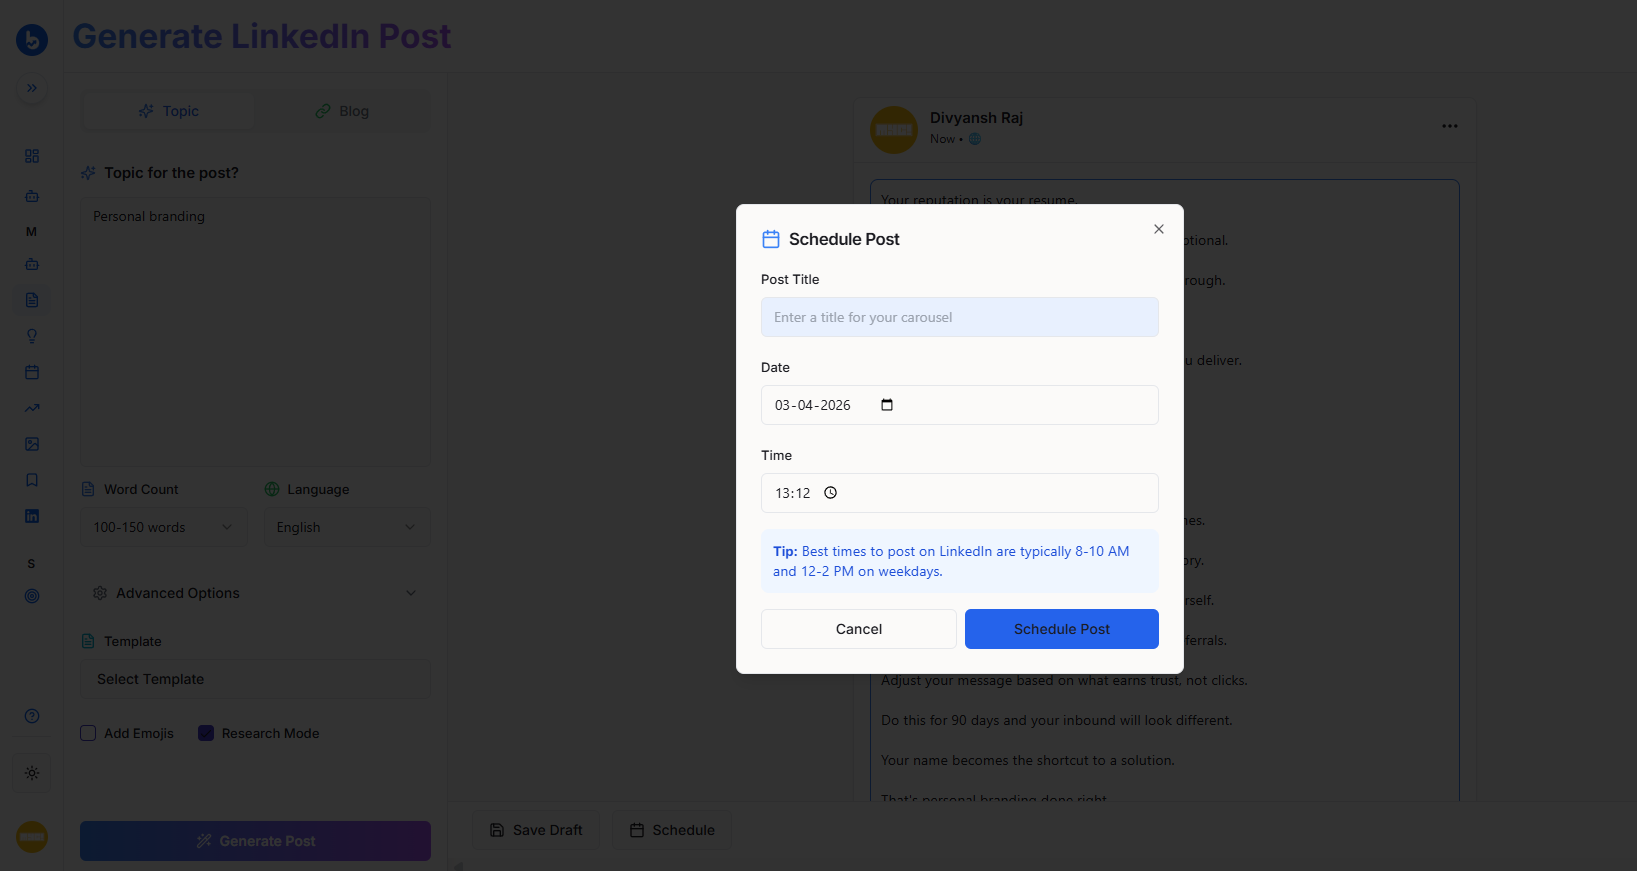
Schedule Post
Click Schedule if you want Buzzli to publish the post at a later date. You can select the post title, date, and time before confirming the schedule.
Post to LinkedIn
If your post is ready to go live, click Post to LinkedIn to publish it directly.
Quick Summary
The full flow looks like this:
Enter topic → Set options → Generate post → Review → Add media (optional) → Save / Schedule / Post